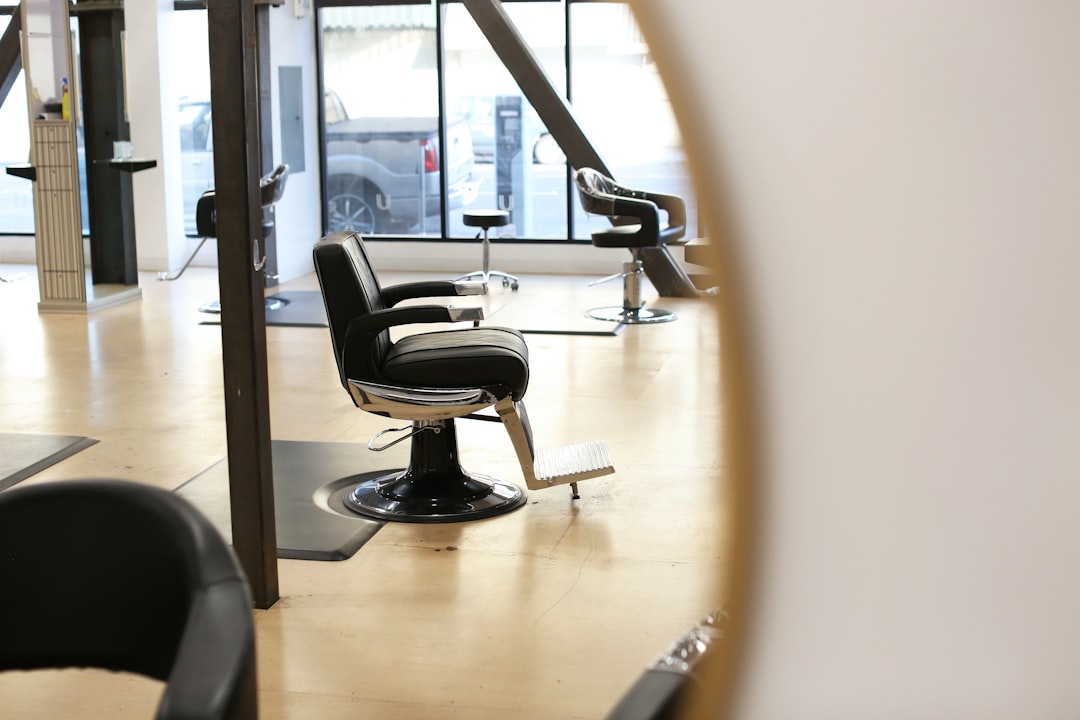
As a creative hair designer at Emotionstream Beauty Salon, I often hear clients say they can't recreate their salon look at home. The truth is, with the right tools, products, and techniques, you absolutely can achieve salon-quality results between appointments. Today, I'm sharing the professional secrets that will transform your at-home styling routine.
Essential Tools for Professional Results
Before we dive into techniques, let's talk about tools. Quality tools are an investment that will last years and make styling significantly easier. Here's what every home styling kit should include:
Must-Have Styling Tools
- Professional blow dryer: Look for 1800+ watts with ionic technology for faster drying and reduced frizz
- Quality flat iron: Ceramic or titanium plates with adjustable temperature settings (avoid cheap drugstore versions)
- Curling iron or wand: 1-1.25 inch barrel is most versatile for various styles
- Round brush: Multiple sizes for different looks (2-3 inch for volume, 1 inch for smaller sections)
- Paddle brush: For detangling and smoothing
- Wide-tooth comb: Essential for wet hair to prevent breakage
- Sectioning clips: Professional clips make styling so much easier
- Heat protectant spray: Non-negotiable for any heat styling
Pro Tip
Invest in professional-grade tools from beauty supply stores rather than drugstore versions. They last longer, perform better, and cause less damage to your hair.
The Perfect Blowout: Step-by-Step
A salon-worthy blowout is the foundation of great styling. Here's how to achieve it at home:
Preparation Phase
- Start with clean, towel-dried hair: Remove excess water by gently squeezing with a microfiber towel
- Apply heat protectant: Spray evenly throughout, focusing on ends
- Add volumizing product at roots: Mousse or root lifter for fine hair, lightweight cream for thick hair
- Apply smoothing serum to ends: Just a small amount to prevent frizz
- Detangle with wide-tooth comb: Start from ends and work up to roots
The Blowout Technique
- Section your hair: Divide into 4-6 sections and clip away
- Start at the nape: Work on the bottom sections first
- Use the right brush angle: Place round brush under hair section, angle dryer down from roots to ends
- Create tension: Pull hair taut with the brush while drying for smooth results
- Cool shot is key: After each section is dry, hit it with the cool shot button to set the style
- Work systematically: Complete each section before moving to the next
Pro Technique
For maximum volume, overdirect hair in the opposite direction you want it to fall, then brush it back. This creates lift at the roots that lasts all day.
Creating Beautiful Curls at Home
Curls can be intimidating, but with proper technique, they're actually quite simple. Let me break down different curling methods:
Method 1: Classic Curling Iron Technique
- Heat protection first: Never skip this step
- Section hair properly: Work with 1-2 inch sections
- Clamp mid-shaft: Not at the ends (causes creases) or roots (causes burns)
- Wrap hair around barrel: Away from face for most flattering curl direction
- Hold 8-12 seconds: Depending on hair thickness and iron temperature
- Release carefully: Let curl fall into your hand to cool
- Pin while hot: Pin each curl in a coil to cool for longer-lasting results
Method 2: Wand Curls (More Modern Look)
Wands create a more natural, beachy wave:
- Wrap hair around wand (no clamp means no crease)
- Leave ends out for modern, effortless look
- Alternate directions for natural movement
- Hold 5-10 seconds depending on hair type
- Let cool completely before touching
Safety Warning: Always use a heat-resistant glove with curling wands to prevent burns. Keep tools away from scalp and ears.
Method 3: Flat Iron Waves
Yes, you can create beautiful waves with a flat iron!
- Clamp hair a few inches from roots
- Rotate iron 180 degrees away from face
- Glide slowly down the section
- Release at ends
- Creates soft, S-shaped waves
Achieving Sleek, Straight Styles
For perfectly straight, smooth hair:
The Professional Straightening Method
- Blow dry completely first: Never flat iron damp hair (causes severe damage)
- Section methodically: Work with thin sections (1 inch or less)
- Use proper temperature: Fine hair: 300-350°F, Normal hair: 350-380°F, Thick/coarse hair: 380-410°F
- One pass rule: Quality iron + right temperature = no need for multiple passes
- Keep moving: Never stop moving the iron or you'll create heat marks
- Angle matters: Keep iron parallel to floor and glide smoothly
Pro Secret
For extra sleek results, run a paddle brush underneath your section while flat ironing. This creates salon-level smoothness.
Styling Products: What to Use When
Products can make or break your style. Here's a guide to using them correctly:
For Volume and Texture
- Mousse: Apply to damp hair at roots before blow drying
- Root lifter: Spray at roots on damp hair, lift sections while drying
- Texturizing spray: Apply to dry hair for piecey, lived-in texture
- Dry shampoo: Not just for dirty hair – great for volume at roots
For Smoothness and Shine
- Smoothing serum: Tiny amount on damp hair before drying
- Hair oil: On dry ends to add shine and tame flyaways
- Shine spray: Final step after styling is complete
For Hold and Control
- Light hairspray: For natural movement with hold
- Strong hold hairspray: For styles that need to last
- Styling cream: For definition without crunch
Product Application Rule
Less is always more. Start with a small amount – you can always add more, but too much product makes hair look greasy and weighed down.
Common Styling Mistakes to Avoid
Mistake #1: Using Too Much Heat
Higher isn't always better. Use the lowest temperature that effectively styles your hair. Fine hair rarely needs temperatures above 350°F.
Mistake #2: Working with Sections Too Large
Smaller sections = better results. It might take longer, but the outcome is worth it. Large sections don't heat evenly and won't hold style.
Mistake #3: Skipping Heat Protectant
This is the #1 cause of heat damage. Always, always use heat protectant on damp hair before any heat styling.
Mistake #4: Styling Dirty Hair
Product buildup and oil prevent heat tools from working effectively. Start with clean (or at least freshly dry shampooed) hair for best results.
Mistake #5: Not Letting Curls Cool
Hair sets as it cools. If you immediately run your fingers through hot curls, they'll fall out quickly. Let them cool completely first.
Mistake #6: Improper Tool Maintenance
Product buildup on hot tools reduces their effectiveness. Clean your tools regularly with rubbing alcohol when cool.
Quick Styling Solutions for Busy Mornings
The 5-Minute Style
When you're short on time:
- Apply dry shampoo at roots for volume
- Quickly curl front sections away from face
- Finger-comb through for natural waves
- Add texture spray for hold
- Done in under 5 minutes!
The Sleek Low Ponytail
Professional and polished in minutes:
- Apply smoothing cream to dry hair
- Brush back smoothly
- Secure at nape with elastic
- Take small section of hair and wrap around elastic
- Secure with bobby pin
- Spritz with shine spray
Extending Your Style Between Washes
Day 2 Hair Tips
- Sleep on silk pillowcase: Reduces friction and frizz
- Refresh with dry shampoo: Absorbs oil and adds volume
- Touch up with styling iron: Just the sections that need it
- Pin curls at night: Refresh curl pattern while you sleep
Day 3 and Beyond
- Embrace texture – work with what you have
- Try braids or updos when hair is more textured
- Use accessories like headbands or clips
- Consider a messy bun or top knot
Troubleshooting Common Issues
Problem: Curls Fall Flat Immediately
Solutions:
- Use smaller sections
- Increase iron temperature slightly
- Pin curls while they cool
- Try a different holding product
- Your hair might need a trim (damaged ends don't hold curl)
Problem: Hair Looks Frizzy After Styling
Solutions:
- Make sure hair is completely dry before heat styling
- Use anti-humidity products
- Finish with lightweight oil on ends
- Check if your tools need cleaning
Problem: Straight Styles Don't Last
Solutions:
- Blow dry completely smooth before flat ironing
- Use anti-frizz serum
- Finish with light hairspray
- Consider humidity levels in your environment
When to Visit the Salon
While these techniques will help you achieve great results at home, professional services are still important:
- Regular trims every 8-12 weeks: Keep hair healthy and styles looking fresh
- Deep conditioning treatments: Professional treatments repair damage
- Complex color services: Leave coloring to the professionals
- Special occasions: Intricate updos and formal styles are best done by experts
- Keratin treatments: Smoothing treatments require professional application
Building Your Styling Confidence
Remember, becoming proficient at styling takes practice. Don't get discouraged if your first attempts don't look perfect. Here are some tips for building confidence:
- Practice new techniques when you don't have time pressure
- Watch tutorial videos and pause to follow along
- Take photos of styles you like for reference
- Ask your stylist during appointments to show you techniques
- Start simple and gradually work up to more complex styles
Conclusion
Professional-looking hair at home is absolutely achievable with the right tools, products, and techniques. The key is patience, practice, and understanding your hair's unique needs. Start by mastering basic blowouts and simple styling, then gradually expand your repertoire as you gain confidence.
At Emotionstream Beauty Salon, we're always happy to provide personalized styling tutorials during your appointments. Our team can show you techniques specific to your hair type and face shape, and recommend the best products for your needs. Between salon visits, use these professional techniques to keep your hair looking its absolute best.
Remember: great hair isn't about having expensive tools or products – it's about using proper technique and treating your hair with care. Happy styling!